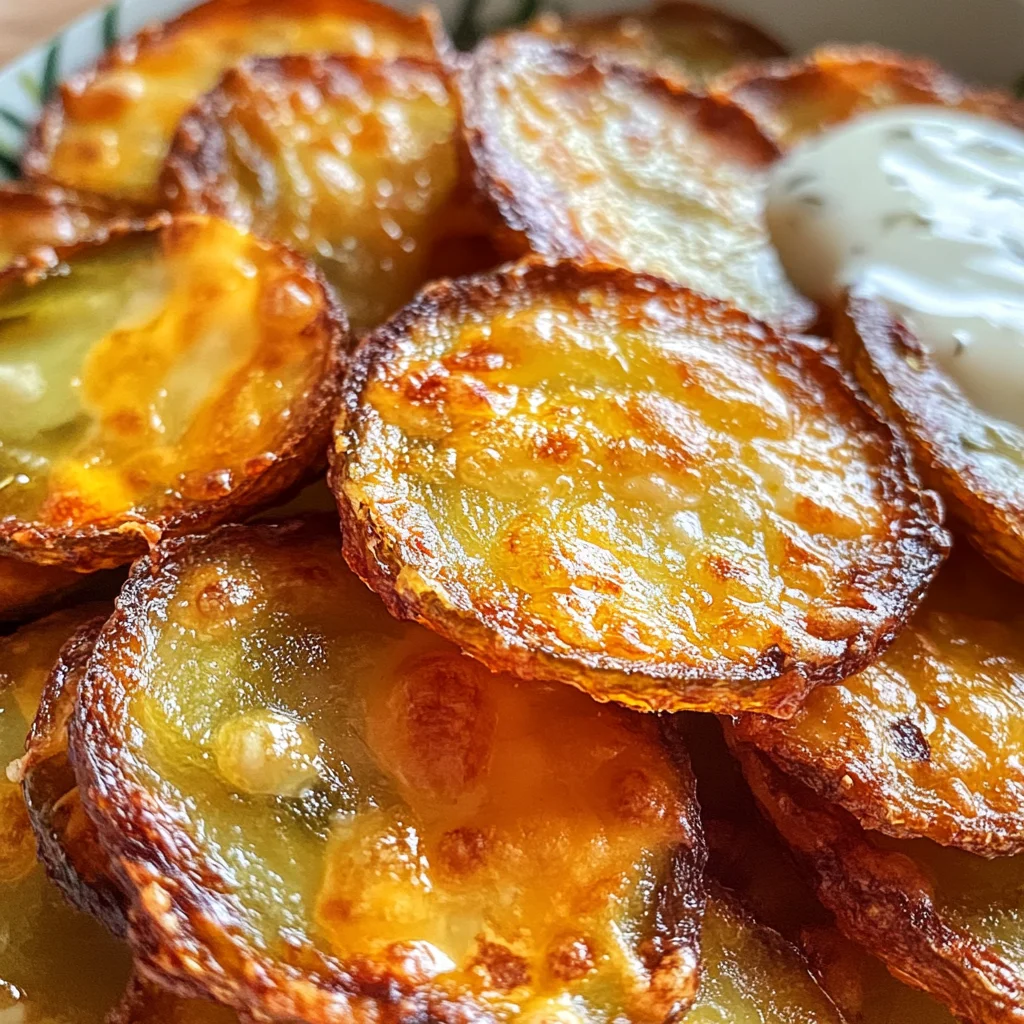
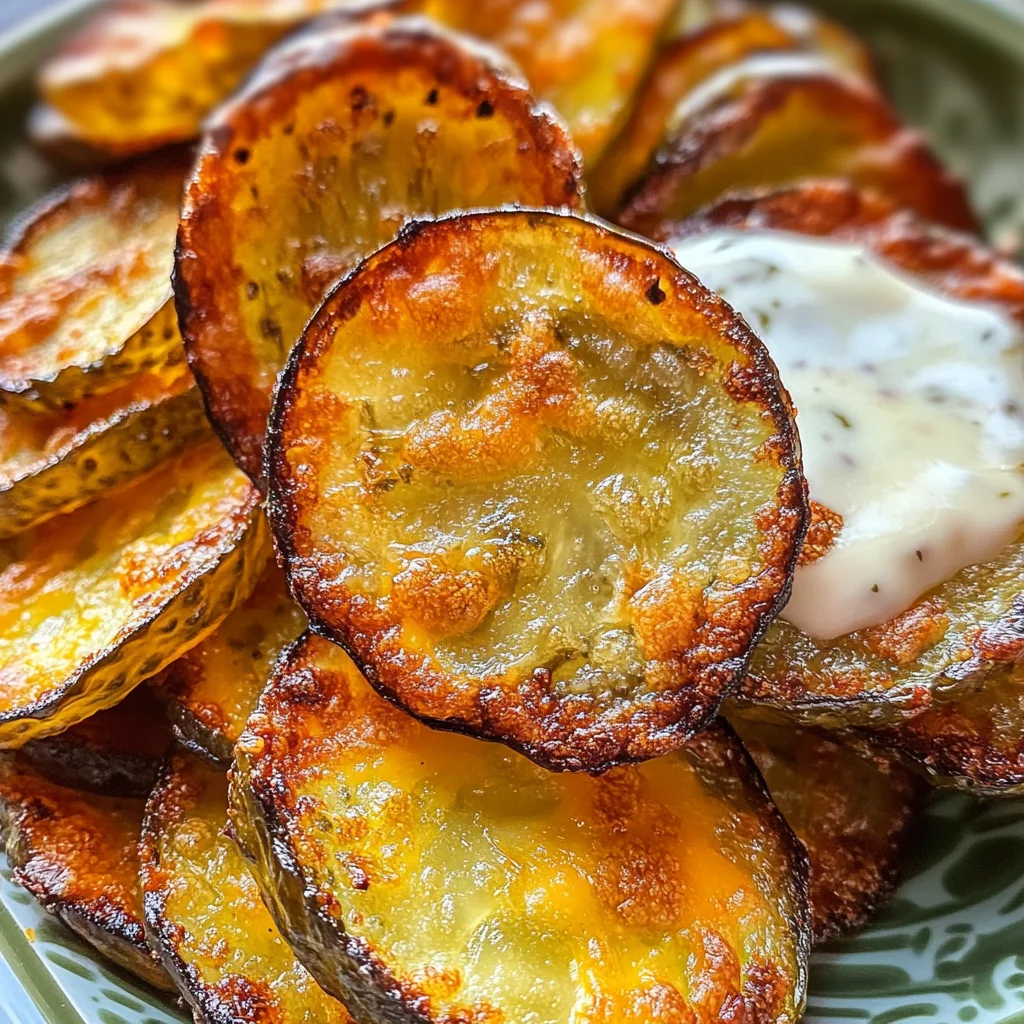
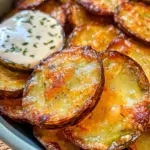
Crispy Cheesy Dill Pickle Chips
If you’re craving a delicious snack that combines crunch and cheesy goodness, look no further than Crispy Cheesy Dill Pickle Chips! Perfect for parties, game nights, or just a casual afternoon treat, these chips are easy to make and bursting with flavor. The unique combination of melted cheese and tangy pickles creates an irresistible bite that everyone will love.
Why You’ll Love This Recipe
- Quick and Easy: With just a few ingredients and minimal prep time, you can whip up this tasty snack in no time.
- Family-Favorite: These crispy chips are sure to please kids and adults alike, making them the perfect addition to any gathering.
- Versatile Flavor: Customize your chips by experimenting with different cheeses and seasonings to suit your taste.
- Baked Not Fried: Enjoy the crispy texture without the guilt of deep frying. A healthier way to indulge!
- Perfect for Dipping: Pair them with your favorite sauces for an extra burst of flavor. Ideal for ranch lovers!
Tools and Preparation
To make these Crispy Cheesy Dill Pickle Chips, you’ll need a few essential tools that will help streamline your cooking process.
Essential Tools and Equipment
- Non-stick muffin tin
- Cooking spray (optional)
- Paper towels
- Oven
- Air fryer (optional)
Importance of Each Tool
- Non-stick muffin tin: Ensures easy removal of the cheesy pickle chips without sticking.
- Cooking spray: Provides an additional layer of non-stick protection for your muffin tin.
- Air fryer: Optional step for achieving that extra crispy texture if desired.
Ingredients
Ingredients:
– 2 cups Shredded Cheese (I used Colby Jack)
– 24 – 36 Dill Pickle Chips (as needed)
– 1 tbsp. Blackening Seasoning
How to Make Crispy Cheesy Dill Pickle Chips
Step 1: Preheat the Oven
Preheat your oven to 400F. Take 24 – 36 dill pickle chips and pat them dry on a few paper towels.
Step 2: Prepare the Muffin Tin
Grab a non-stick 12-cup muffin tin. Spray with non-stick cooking spray if desired. Fill each cup with a big pinch of shredded cheese. Top each cheese cup with two or three dill pickle chips.
Step 3: Add Seasoning
Sprinkle your favorite blackening seasoning into each cup and top with more cheese to cover the pickles completely.
Step 4: Bake Until Golden
Bake for 15 minutes, or until the cheese has melted and browned beautifully.
Step 5: Optional Air Fryer Finish
After they have baked, remove each cheesy pickle chip from the muffin tin. For an extra crisp, place them in the air fryer at 400F for an additional 5 minutes.
Step 6: Serve and Enjoy!
Serve immediately with your favorite dipping sauce. I love these with ranch or my Tangy Alabama White Sauce!
How to Serve Crispy Cheesy Dill Pickle Chips
Crispy Cheesy Dill Pickle Chips are a delightful snack that pairs perfectly with various dips and sides. Whether you’re hosting a gathering or enjoying a movie night, these savory bites are sure to please everyone.
With Dipping Sauces
- Ranch Dressing: A classic pairing, ranch adds a creamy and herby flavor that complements the pickles.
- Tangy Alabama White Sauce: This unique sauce provides a zesty kick, enhancing the overall taste of the chips.
- Spicy Mayo: Combine mayonnaise with sriracha for a spicy twist that elevates your snack experience.
As an Appetizer
- Garnished Platter: Serve them on a platter with fresh veggies and other finger foods for an appealing starter.
- Cheese Board Addition: Include these chips on a cheese board alongside assorted cheeses and crackers for an upscale touch.
In Sandwiches
- Crunchy Layer in Burgers: Add Crispy Cheesy Dill Pickle Chips to burgers for an extra crunch and cheesy flavor.
- Tasty Sandwich Filling: Use them in grilled cheese sandwiches for a unique twist on the classic recipe.
How to Perfect Crispy Cheesy Dill Pickle Chips
To achieve the perfect crispy texture and flavor in your Crispy Cheesy Dill Pickle Chips, follow these essential tips.
- Choose the Right Cheese: Select cheeses that melt well, like Colby Jack or mozzarella, for gooey goodness.
- Pat Dry Thoroughly: Ensure your dill pickle chips are dried properly to prevent excess moisture, which can lead to soggy chips.
- Use Non-Stick Spray Generously: Spraying the muffin tin helps prevent sticking, making it easier to remove your cheesy creations.
- Bake Until Golden Brown: Keep an eye on your chips while baking; they should be golden brown for optimal crispness.
- Opt for Air Frying After Baking: For an extra crispy finish, air fry the baked chips briefly at high heat before serving.
Best Side Dishes for Crispy Cheesy Dill Pickle Chips
Crispy Cheesy Dill Pickle Chips can be enjoyed alongside various sides that enhance their flavor. Here are some excellent options to consider:
- Fresh Veggie Sticks: Carrots, celery, and bell peppers provide crunch and freshness that balance the richness of the chips.
- Creamy Coleslaw: The tangy crunch of coleslaw offers a refreshing contrast to the cheesy pickles.
- Potato Wedges: Baked or fried potato wedges make for a hearty side that pairs well with any dip.
- Guacamole: This creamy avocado dip adds richness and pairs well with the salty flavors of the chips.
- Stuffed Jalapeños: Spicy jalapeños stuffed with cream cheese deliver heat that complements the cheesiness of the dill pickle chips.
- Marinated Olives: A bowl of marinated olives adds briny goodness and enhances the appetizer spread beautifully.
Common Mistakes to Avoid
When making Crispy Cheesy Dill Pickle Chips, it’s easy to make a few common missteps. Here are some mistakes to watch out for:
- Overloading on Cheese: Adding too much cheese can make the chips greasy and difficult to handle. Stick to the recommended amounts for the best texture.
- Skipping the Drying Step: Not patting the dill pickle chips dry can lead to soggy results. Make sure they are thoroughly dried before assembly.
- Ignoring the Oven Temperature: Baking at the wrong temperature can lead to uneven cooking. Always preheat your oven to 400F for optimal results.
- Not Using Non-Stick Spray: Even if your muffin tin is non-stick, it’s wise to use cooking spray. This will help prevent sticking and make cleanup easier.
- Baking Time Misjudgment: Removing them too early can result in undercooked cheese. Bake until fully melted and slightly browned for that perfect crisp.
Storage & Reheating Instructions
Refrigerator Storage
- Store in an airtight container.
- Keep in the refrigerator for up to 3 days.
Freezing Crispy Cheesy Dill Pickle Chips
- Place in a single layer on a baking sheet until frozen.
- Transfer to a freezer-safe container or bag; can be stored for up to 2 months.
Reheating Crispy Cheesy Dill Pickle Chips
- Oven: Preheat oven to 350F and bake for about 5-10 minutes until heated through.
- Microwave: Heat on a microwave-safe plate for about 30 seconds, checking frequently.
- Stovetop: Reheat in a skillet over medium heat for about 1-2 minutes per side, ensuring they stay crispy.
Frequently Asked Questions
Crispy Cheesy Dill Pickle Chips are a unique snack that raises many questions! Here are some frequently asked ones:
How To Make Pickle Chips Crispy?
To ensure your pickle chips come out crispy, dry them thoroughly before baking and avoid overcrowding the muffin tin.
Can I Use Different Cheese?
Yes! Feel free to experiment with other cheeses like cheddar or mozzarella for different flavors in your Crispy Cheesy Dill Pickle Chips.
What Are Good Dipping Sauces?
Ranch dressing, tangy Alabama white sauce, or spicy mayo pair wonderfully with these cheesy snacks.
Are These Chips Keto-Friendly?
Absolutely! These Crispy Cheesy Dill Pickle Chips are low-carb and perfect for keto diets.
Final Thoughts
Crispy Cheesy Dill Pickle Chips are an irresistible snack that combines cheesy goodness with tangy dill flavor. Perfect as an appetizer or game-day treat, these chips can be customized with your favorite seasonings or cheeses. Give this recipe a try and enjoy a fun twist on a classic snack!
Crispy Cheesy Dill Pickle Chips
Crispy Cheesy Dill Pickle Chips are the ultimate snack for anyone seeking a delightful combination of crunch and cheesy goodness. These baked chips offer a satisfying bite, perfect for parties, game nights, or casual munching. With a simple blend of shredded cheese and tangy dill pickles, these snacks are not only easy to make but also customizable with your favorite seasonings. Plus, they’re baked instead of fried, giving you a guilt-free indulgence that everyone will adore. Serve them alongside your favorite dips for an extra flavor kick or enjoy them on their own for a tasty treat that’s sure to impress!
- Prep Time: 10 minutes
- Cook Time: 15 minutes
- Total Time: 25 minutes
- Yield: Approximately 8 servings 1x
- Category: Snack
- Method: Baking
- Cuisine: American
Ingredients
- 2 cups shredded cheese (Colby Jack recommended)
- 24 – 36 dill pickle chips
- 1 tbsp blackening seasoning
Instructions
- Preheat your oven to 400°F (200°C).
- Pat the dill pickle chips dry using paper towels.
- Spray a non-stick muffin tin with cooking spray. Fill each cup with a pinch of shredded cheese and place two to three dill pickle chips on top.
- Sprinkle blackening seasoning over the pickles and cover with more cheese.
- Bake for 15 minutes until the cheese is melted and golden brown.
- For added crispiness, air fry at 400°F (200°C) for an additional 5 minutes if desired.
- Serve immediately with your choice of dipping sauce.
Nutrition
- Serving Size: 3 chips (30g)
- Calories: 120
- Sugar: 1g
- Sodium: 300mg
- Fat: 9g
- Saturated Fat: 5g
- Unsaturated Fat: 3g
- Trans Fat: 0g
- Carbohydrates: 2g
- Fiber: 0g
- Protein: 8g
- Cholesterol: 30mg